
Manage Agents
Your agents are the core of how Gary delivers consistent, role-specific outputs across your organization. The Agents management page gives administrators a single place to create, configure, and maintain every agent available to your tenant — with full control over which prompts are attached, which lists they're scoped to, and which agent serves as the default for new Gary conversations.
Why This Matters
Centralized agent management means one administrator configures the AI experience for the entire organization — no inconsistency from teams building their own agents independently.
Adding prompts to agents at the tenant level ensures every user gets the same curated, mission-aligned prompt options regardless of which list they're working in.
A Default Agent means new users don't start from scratch. Gary opens with the right configuration from day one.
Navigate to the Agents Page
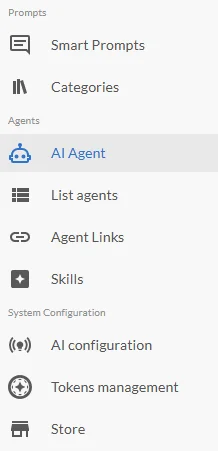
Go to AI Settings
Select Agents from the menu
The Agents page displays all agents currently configured for your tenant.
Create an Agent
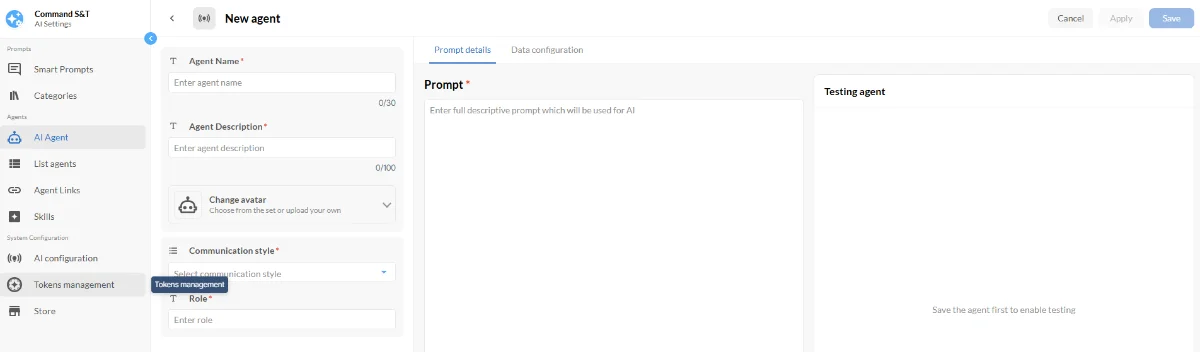
Click + Add Agent in the top right of the page
Complete all required fields: Agent Name, Agent Description, Job, Communication Style, and Instructions
Add optional fields as needed: Lists, Prompts, Agent Image
Click Apply, then Save
For full guidance on configuring agent fields, see Create and Configure an AI Agent.
Edit an Agent
Locate the agent in the list
Click the pencil icon next to the agent name
Make your changes
Click Apply, then Save
Delete an Agent
Locate the agent in the list
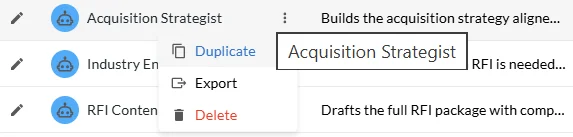
Click the three dots (⋮) next to the agent
Select Delete Agent
Deletion is permanent. Export the agent configuration before deleting if you may need to restore it.
Import an Agent
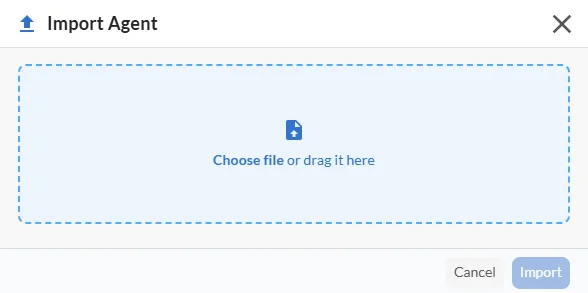
Click Import Agent in the top right of the page
Drag and drop the JSON file into the upload box or select the file manually
Click Continue
Note: Duplicate Agent: if you attempt to import or create an agent with a name that already exists in your tenant, CORAS will display a duplicate agent error. Rename the agent before importing or creating.
Add Prompts to an Agent at the Tenant Level
Adding prompts at the tenant level makes them available to the agent across all lists.
Open the agent in edit view
Navigate to the Prompts section
Select the prompts you want to attach
Click Save
Set a Default Agent
The Default Agent is what Gary opens with when a user starts a new conversation without selecting a specific agent. Only one agent can be set as the default at a time.
Kick-off Prompt (optional)
A kick-off prompt opens automatically when any user starts a chat with this agent. Set it once and every user gets a consistent starting point without needing to select a prompt manually.
In the agent edit view, locate the Kick-off Prompt field.
Select the prompt you want to run at chat open.
Save.
To remove it, clear the field and save.
Link an AI Config to an Agent (optional)
An AI Config determines which fields in which lists Gary can access. Linking one to an agent means users who open that agent in chat get the right data scope applied automatically — they do not need to pick a config themselves.
Open the agent in edit view in AI Settings.
Locate the AI Config (or Linked Config) section.
Select the AI Config you want the agent to use.
Click Save.
To remove the scope, clear the linked config field and save.
Notes:
An agent supports at most one linked AI Config.
Linking a new config replaces any config previously linked to that agent.
If the linked AI Config is later deleted, the agent retains the link record as a missing item. No AI context is available from it until you link a valid config.
Locked agents (created and managed centrally) are read-only for Tenant Admins — you can view the linked config but cannot change it. Contact your Customer Success Manager to request a change.
Note: Name uniqueness: each agent name must be unique within your tenant. If you enter a name that already exists, you'll see a validation message before the agent saves.
Get Help
Contact your Customer Success Manager or visit the Customer Resource Center for additional support with AI Settings.