
Data Clean Up
Clean data is the foundation of everything Gary produces. When Gary generates insights, builds charts, or runs what-if scenarios, the quality of the output depends directly on the quality of the input. Duplicate records, orphaned items, and test data left in production lists don't just clutter your workspace — they corrupt your analysis. Data Clean Up gives administrators a rules-based tool to find and remove exactly what shouldn't be there, in bulk, without touching what should.
Why This Matters
Gary's analysis is only as accurate as the data he's working from. One duplicate record in a funding list can skew a portfolio summary. Regular cleanup keeps your AI-driven insights grounded in reality.
SmartBoards, SmartLanes, and What-If scenarios all read from your list data. Stale or incorrect records show up in every visualization built on top of them.
Bulk cleanup means a list with hundreds of outdated records doesn't require hours of manual deletion. Define the criteria, confirm the results, remove with one action.
When to Use This
Purging test or training data after onboarding or a sandbox session
Cleaning up after user transitions or list refactoring
Removing duplicate records identified during a data quality review
Enforcing data governance before a major reporting cycle or leadership review
Step 1: Navigate to Data Clean Up
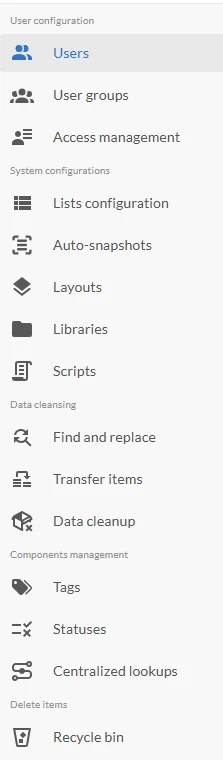
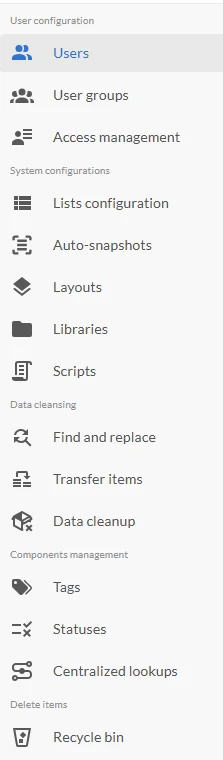
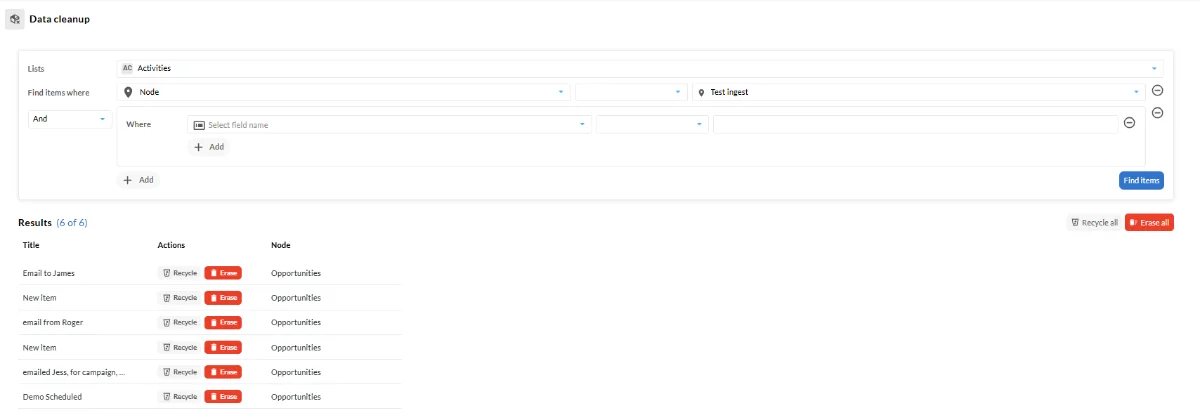
Go to Admin Settings and select Data Cleanup under the Data Cleansing section.
Step 2: Select a List
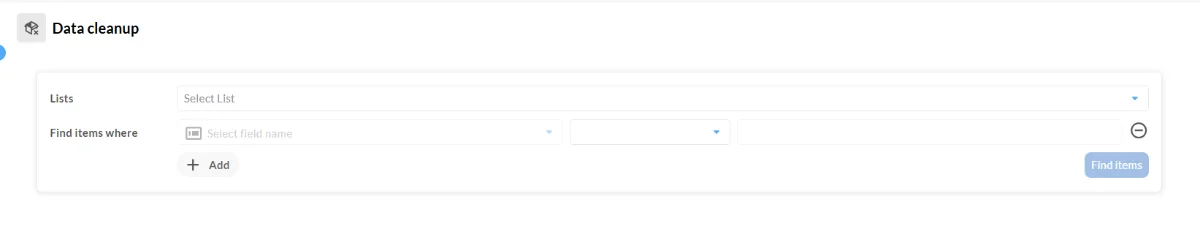
In the Lists row, use the dropdown to select the list you want to review and clean. Only lists within your admin scope will appear.

Step 3: Define Search Criteria
In the Find Items Where section, configure the filter that identifies the records you want to clean:
Field — select the field to filter on — for example, Status, Owner, or Created Date
Condition — choose the condition logic. Options vary by field and may include:
is equal to
is not equal to
is any of
is none of
contains
does not contain
is known
is unknown
Value — the input type updates based on the selected field — text entry, dropdown, or date picker
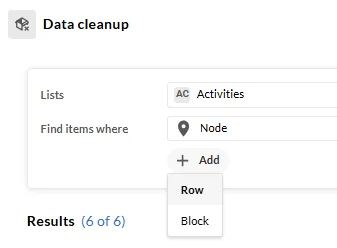
Click + to add another filter row. Click Add Block to group logic conditions together. Stack conditions to narrow results to exactly the records you want to remove.

Step 4: Find Items
Click Find Items. A results table displays matching records including:
Title column — the name or identifier of each item
Actions column — options for handling each result
Review the results before taking any action. Confirm these are the records you intend to remove.
Step 5: Choose a Cleanup Action
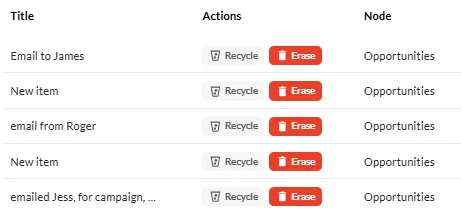
In the results table, use the Actions column to decide how to handle each item:
Recycle — Moves the item to the system Recycle Bin, which can be restored.
Erase — Permanently deletes the item from the selected list.
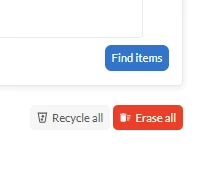
Buttons in the upper right, under Find Items.
Recycle All—Recycles all matching items at once, which can be restored.
Erase All — Permanently deletes all matching items at once.
Get Help
Contact your Customer Success Manager or visit the Customer Resource Center for additional support with Data Clean Up and data management in CORAS.