Access Management
Access Management controls who can see and modify data across your CORAS tenant. By assigning permissions at the node and collection level through user groups, administrators create precise access boundaries that align with organizational structure and security requirements. In an IL-5 environment operating across SIPR and JWICS, access management isn't just a convenience — it's a compliance requirement that ensures users and AI agents only see and act on data they are authorized to access.
Access Management
The Access Management section is used to assign or restrict access to specific parts of the system, including collections and nodes.

How to Assign Access to a User Group
Go to Admin Settings — Access Management.
Click Add User Group.
Select the group you want to assign.
Choose the Collections or Nodes the group should have access to.
Select the appropriate Access Level:
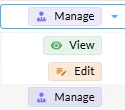
View — Read-only access
Edit — Ability to modify data
Manage — Full control over the selected node/collection
Click Save.
Note: Permissions can also be assigned or adjusted directly within a CORAS Workspace. This functionality is covered in a separate section of the User Guide.
Bulk Access Edits

Select a space on the left panel.
Select the corresponding collection on the right to view all members and their access levels.
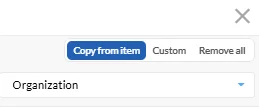
To apply a custom bulk change: select Custom, choose individuals or user groups, set the desired access level, and click Apply Changes.

Removing Access
Individual: Click the three dots next to the user → Remove User → Save.
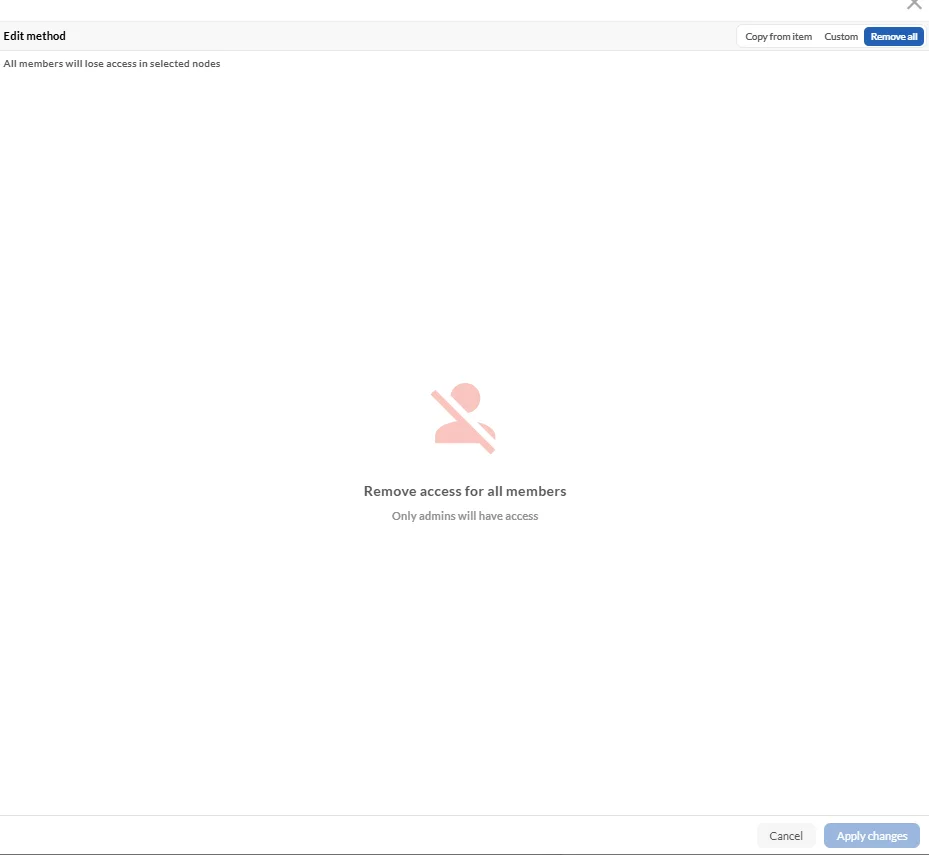
All users from a space: Select the space → Apply Changes.