
SmartList Views
Views let you save different configurations of the same underlying data — different column layouts, filters, sorts, and groupings tailored to different audiences or tasks. Instead of building multiple lists, you create multiple views of one list. A program manager might want a high-level status view while an analyst needs a detailed data view with all fields visible. Views make both possible without duplicating data.
Why This Matters
Briefing preparation used to mean exporting to PowerPoint and reformatting. A well-configured view can be reviewed directly in CORAS — live data, no stale exports.
Role-specific views mean every audience sees exactly what they need without noise. Leadership sees status. Analysts see detail. Operators see action items. One list, no duplication.
My Views let individual team members configure their own working views without affecting what their colleagues see.
When to Use This
Role-specific perspectives — Build views tailored to leadership (summary), analysts (detail), and operators (action items).
Filtering for focus — Save views that show only items in a specific status, category, or date range.
Briefing preperation— Configure a clean, presentation-ready view that leadership can review directly in CORAS rather than exporting to slides.
Understanding Views
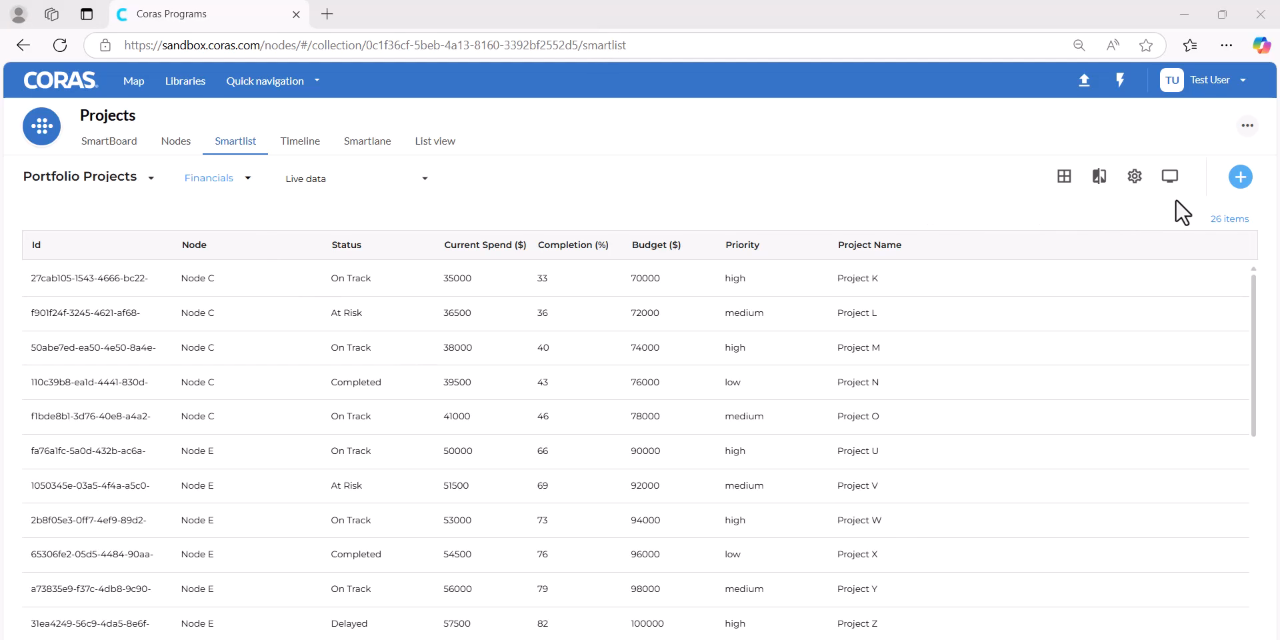
When you create a SmartList, it is automatically placed in an Ad Hoc view. Ad Hoc is the default unsaved state — useful for one-off exploration but not preserved between sessions. Creating a named view saves your configuration so you and your team can return to it at any time.
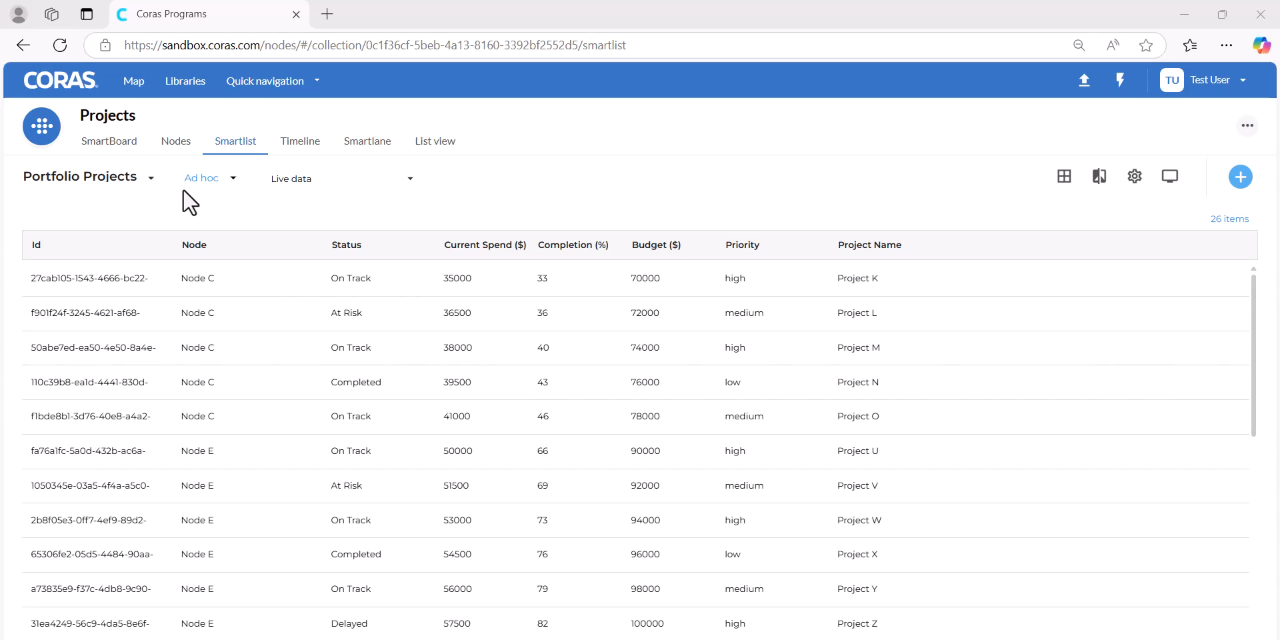
There are two view types:
Shared Views — visible to anyone with access to the node or collection
My Views — visible only to you until you choose to share them
Saving a view stores the configuration. Loading a view applies it to the current screen.
Create a View
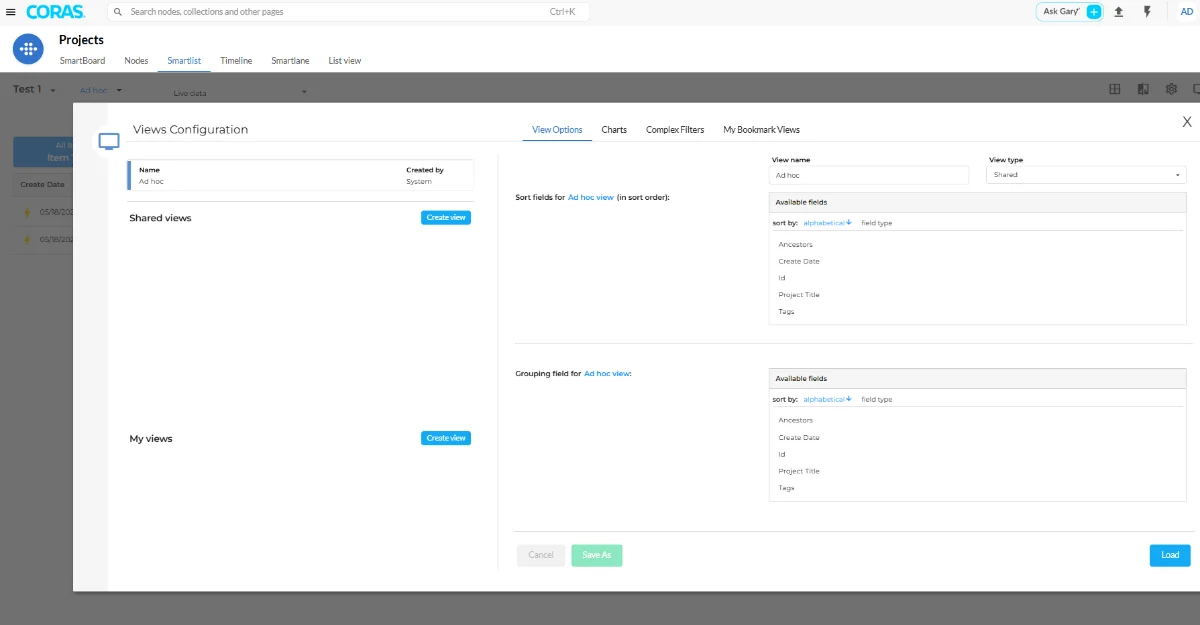
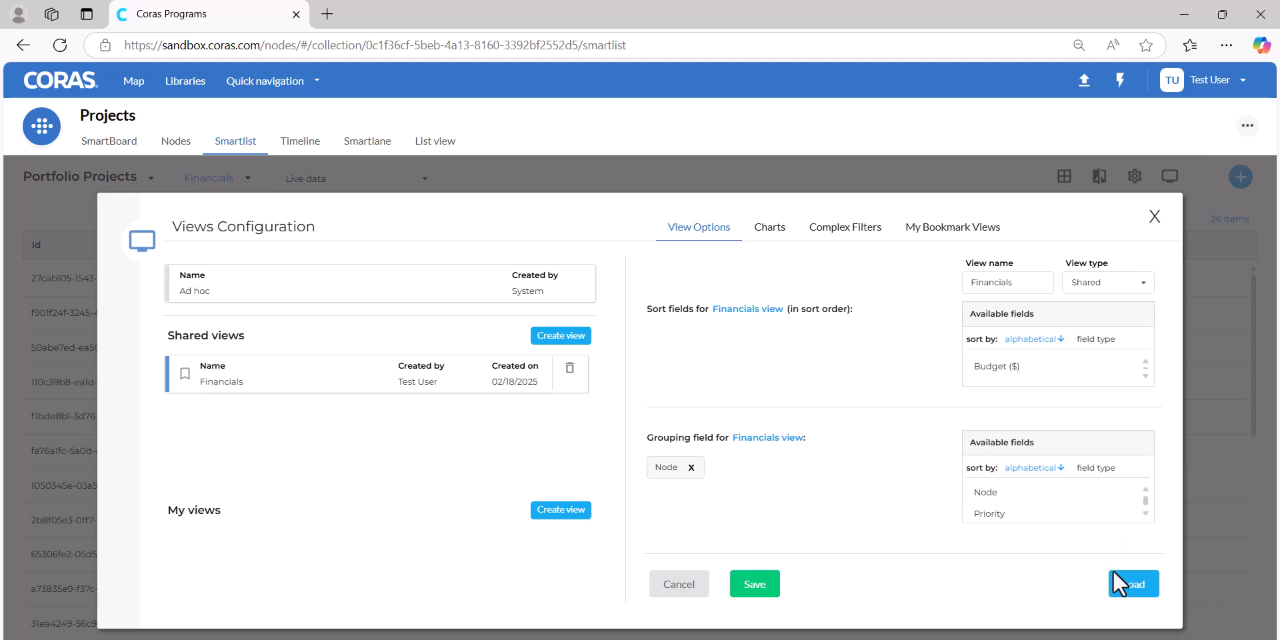
Select the TV icon on the right side of the screen.
Choose between Shared Views (visible to anyone with access to the node or collection) and My Views (visible only to you).
To create a shared view, select Shared Views.
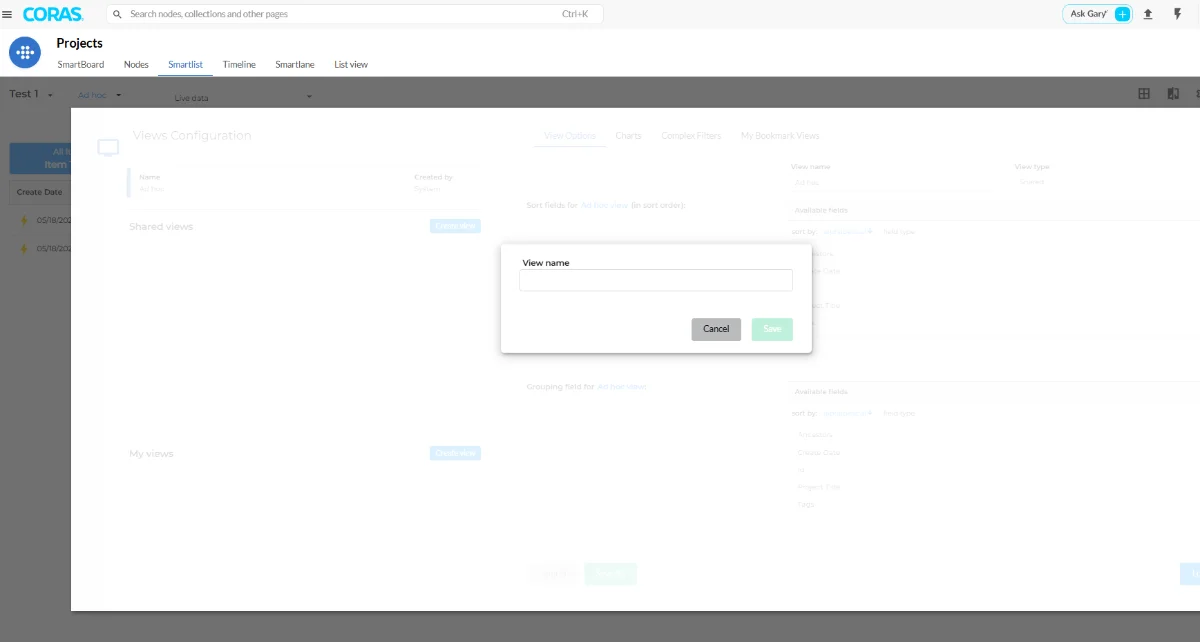
Enter a title for the view and click Save.
Click Load to display the new view.
Group by a Field
In the view configuration panel on the right side, locate the grouping options.
Select the field you want to group by (e.g., Node).
Click Load.
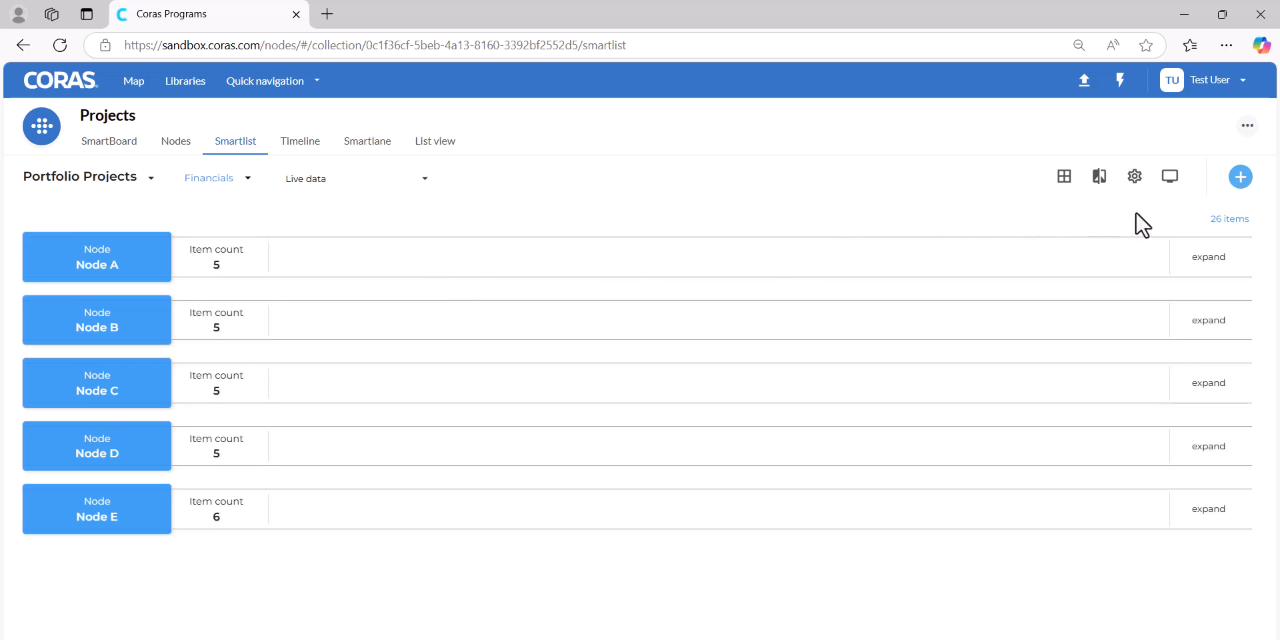
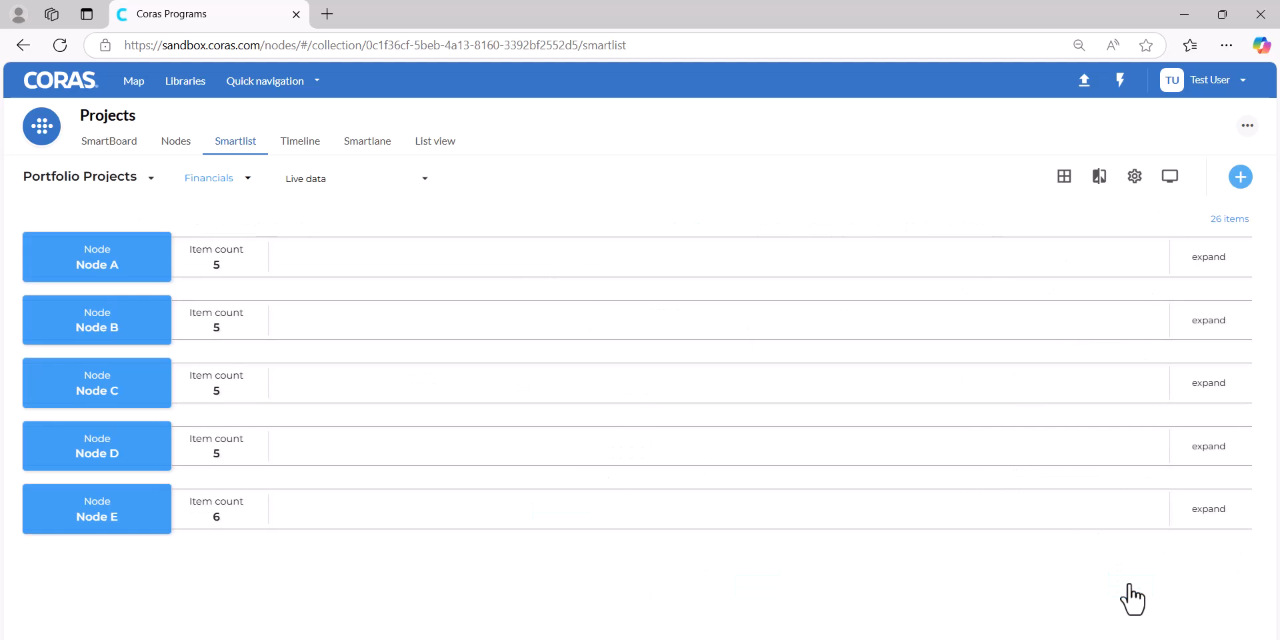
The SmartList is now organized into groups based on the selected field.
Sorting Fields
In the view configuration panel on the right side, locate the sorting options.
Select the field you want to sort by (e.g., Priority).
Click Load.
Expand a group to verify items are sorted (e.g., from high to low to medium priority).
Next Step
Ready to color-code your data for at-a-glance status? See Conditional Formatting.
Get Help
Contact your Customer Success Manager or visit the Customer Resource Center for additional support with SmartList views and configuration.